


Most of my VR work in the past has been done on Quest 2 through Unity. Knowing I want to do things related to pass-through abilities, I was going to need to upgrade to a Quest 3 to do that. I also decided to work in the new Unity 6 because why not? I might as well familiarize myself with it.
I recently got a Quest 3 and went through the process of setting it up in dev mode and hooked up correctly to my desktop. It had a lot of various sign ins and turning off and on, but I can now tether to it and play it right in Unity! I’ve had to mess with getting headsets to work at Wake Tech for my classes, so I feel like I’ve seen it all and have it down.
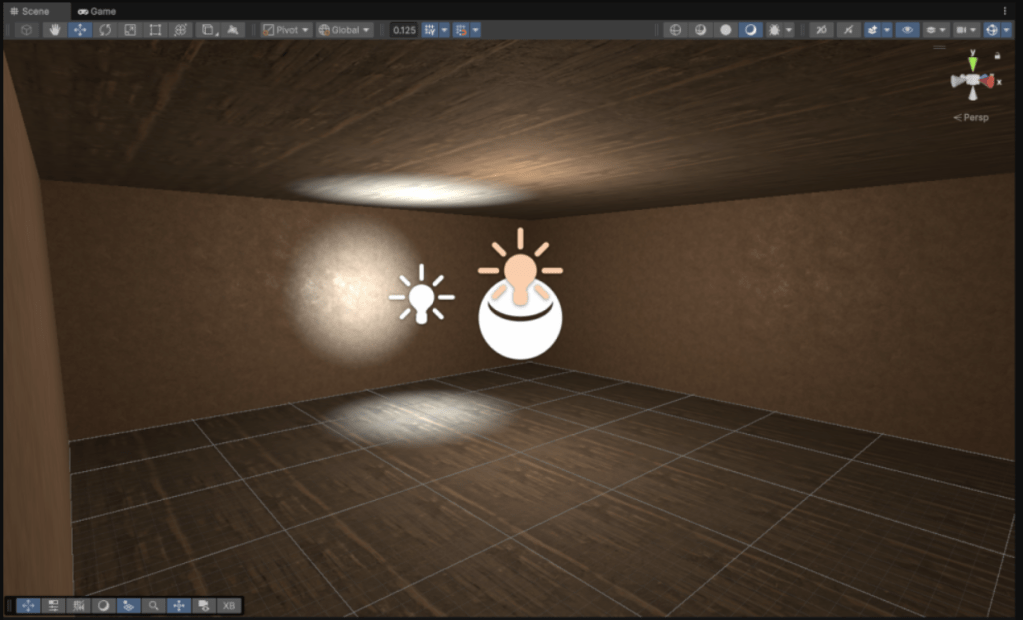
I built my first, simplest level just to get it working and get some of the render pipeline settings set up the way I want them. I’m not certain why Unity had to change the UI for pro builder, but that took me a moment to get used to. I didn’t think they would change it since there wasn’t really a reason to. I’m going to have to play with some of the lighting and rendering settings later, but it’s good enough for now.
One of the built-in features in the example VR scene they have that I’d never experienced before (to be fair, I haven’t tried out their example VR scene in a long time) is this vignette they put on the camera when you move. It’s an interesting idea, but the base settings they have in that scene remind me of getting tunnel vision when you are having a panic attack / lightheaded and about to pass out.
My next pass is going to be to bring in some captured assets from a previous project into the scene as well as build a small environment physically to capture as I build a working prototype of my project.


Leave a comment